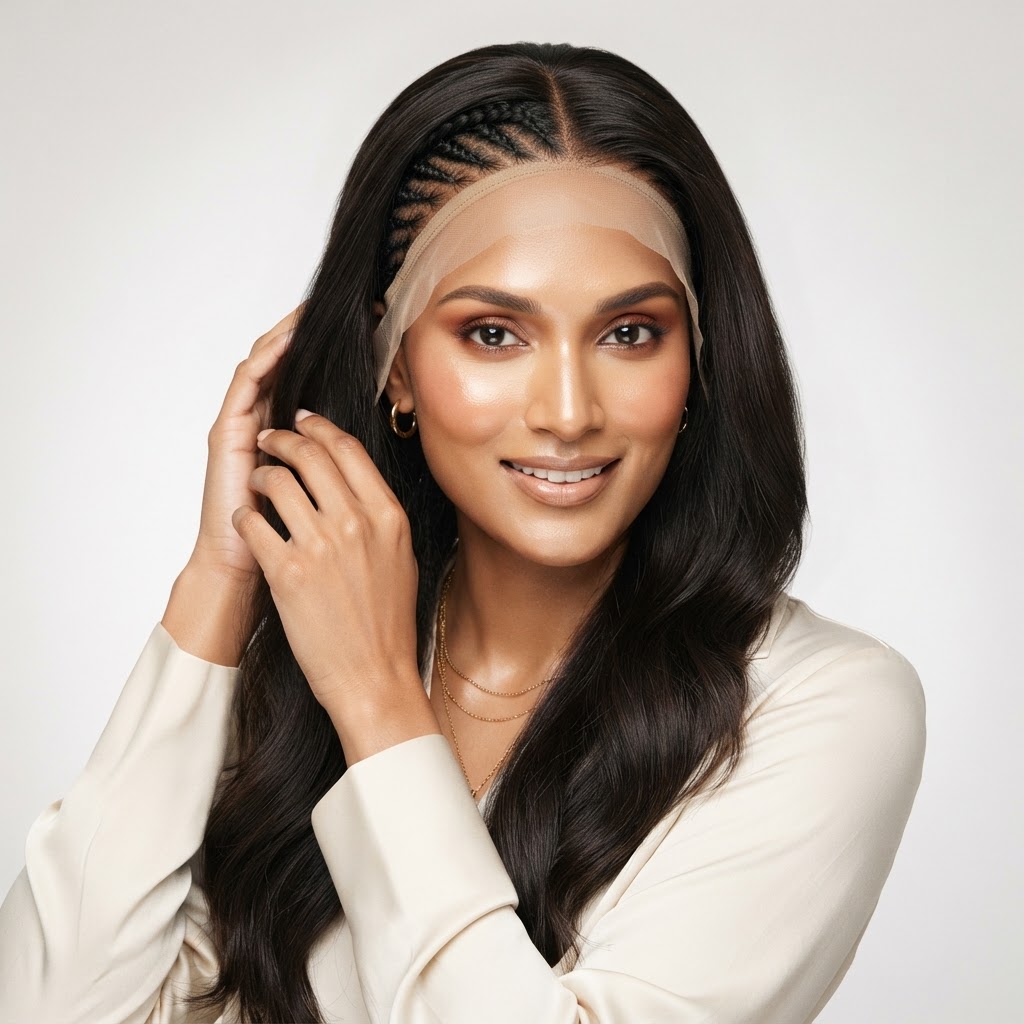
Why Braiding Is Essential for Wig Wearers
When you invest in a premium piece, such as the best Indian hair wigs, the goal is a seamless, natural look that feels as good as it looks. The secret to achieving that coveted 'scalp-like' appearance lies not just in the lace quality, but in what you do underneath. Braiding your natural hair is the most effective way to create a flat, secure canvas for your wig.
A flat foundation prevents unsightly bumps, bulges, or gaps between your hairline and the wig lace. If you have thick or voluminous hair, improper preparation can lead to a 'mushroom' silhouette that looks unnatural and bulky. By compressing your natural hair, you ensure that the wig sits flush against your head, allowing for a realistic transition that mimics the way hair grows from the scalp.
Furthermore, braiding is a protective style. It keeps your natural tresses tucked away, reducing friction and tension on your edges. For those new to the world of high-quality hair, it is important to understand that a great install starts long before the adhesive or clips are applied. If you are just starting your journey, be sure to check our best wigs for beginners guide to ensure you have the right base for your needs.
Preparing Your Natural Hair
Before you begin braiding, you must ensure your natural hair is clean, moisturised, and detangled. A wig acts as a protective layer, but if your hair is dirty or dry underneath, you may experience scalp irritation or breakage. Start with a clarifying shampoo to remove product build-up, followed by a deep conditioning treatment to ensure your hair remains supple.
The Importance of Moisture
Never braid your hair bone-dry or completely soaked. Aim for hair that is lightly damp or conditioned with a leave-in treatment. This makes the hair easier to manage, reduces breakage during the braiding process, and prevents your scalp from feeling tight. For our hand-picked recommendations, visit our Recommended Products page.
Proper detangling is non-negotiable. Use a wide-tooth comb or a detangling brush, working from the ends of your hair up toward the roots. Any remaining knots can become tighter while under the wig, leading to discomfort or even hair loss if the tension is too high. Once your hair is smooth and hydrated, you are ready to part and braid.
Step-by-Step: Best Braiding Patterns
The choice of braiding pattern depends entirely on your hair length and volume. The goal is always the same: flat, even distribution. For most, a 'beehive' pattern or straight-back cornrows work best to provide a stable anchor for the wig's interior clips or combs.
Common Braiding Techniques
- Straight-Back Cornrows: This is the most versatile method. By braiding your hair in straight lines from your forehead to the nape of your neck, you create a flat surface that mimics the natural lie of hair.
- The Beehive Pattern: Ideal for long, thick hair, this pattern involves braiding in a circle around the head. This distributes volume evenly, preventing a bulky bump at the back of the head.
- Flat Twists: If you struggle with cornrows, flat twists are a great alternative. They are easier to install for beginners and offer less tension on the scalp.
Regardless of the method, ensure your braids are not too tight, especially around the hairline. Excessive tension on your edges can cause traction alopecia over time. If your hair is very long, tuck the ends of the braids under themselves or secure them with a soft thread to keep the base smooth and prevent any loose ends from poking through the wig lace.
Securing Your Braids for a Flat Finish
Even with perfect braids, there might be slight lumps. To achieve that truly 'flawless' fit, you should consider using a high-quality wig cap. A wig cap acts as a barrier, protecting your natural hair from the wig's friction while helping to flatten any stray flyaways that might have escaped your braids.
Tips for a Sleeker Fit
Choose a wig cap that matches your scalp tone for a natural transition. If you are using a lace front wig, you may want to cut the cap slightly behind the hairline to avoid it showing under the lace. Once the cap is on, use a light spritz of water or a setting foam to press down any stray hairs around the perimeter.
| Tool | Purpose |
|---|---|
| Rat-tail comb | Clean, precise parting |
| Wig cap | Smoothing and scalp protection |
| U-pin or Bobby pins | Securing loose ends |
| Silk scarf | Setting the base for a flat look |
After putting your cap on, tie a silk or satin scarf around your head for 5–10 minutes. This 'presses' the hair down, ensuring the flattest possible canvas for your Indian Remy hair piece. A little patience at this stage saves a significant amount of time when styling your wig later.
Protecting Your Hair and Wig Integrity
Maintaining your hair under a wig is just as important as maintaining the wig itself. While we want a secure fit, we must never compromise the health of our natural hair. Always ensure your braids are completely dry before putting on your wig; wearing a wig over damp braids creates a breeding ground for bacteria and can lead to unpleasant odours or scalp issues.
Furthermore, rotate your hairstyles. If you wear wigs daily, try to give your edges a break at least one day a week. When you remove your wig, take down your braids to allow your scalp to breathe and your hair to rest. Remember that the better you treat your natural hair, the better your wigs will look on you over time. Learn more about how to make your human hair wig last longer by adopting a consistent care routine.
Disclaimer: Product mentions are based on editorial preference and are not paid endorsements. Always perform a patch test when using new adhesives or hair products.
Recommended General Products
Looking for products we personally recommend? See our complete list of trusted tools and recommended products.
Browse Recommended ProductsFrequently Asked Questions
1. Do I have to braid my hair if it is short?
If your hair is very short, you may not need to braid it. You can simply slick it back using a gel or setting lotion and a wig cap. The goal is to keep the hair as flat as possible, so focus on smoothing the hair down.
2. How tight should my braids be?
Your braids should be secure, but never painful. If you feel pulling or tension on your scalp or edges, they are too tight. This can lead to hair loss and discomfort.
3. Can I leave my natural hair out at the front?
Yes, you can leave a small section of your natural hair out to blend with the wig lace, but this requires heat styling to match the texture of the wig. Ensure your natural hair texture is compatible with the wig for a seamless look.
4. How often should I take my braids down?
It is recommended to take your braids down and wash your natural hair every 1 to 2 weeks. Leaving braids in for longer than a month can cause matting and damage to your natural hair.
5. Will wearing a wig under a cap make my hair grow?
Wigs themselves do not stimulate hair growth, but they are a fantastic protective style. By keeping your hair in braids and shielded from environmental damage, you can retain more length over time.